

Tulips are pretty much one of my favorite flowers. I love their graceful, delicate petals. They are a sure sign of spring. I plant many tulips in my yard, but the deer sometimes eat them before I get much chance to enjoy them. Downside of living near the mountains…
So my sister-in-law asked me to make her a spring wreath and this was one of the pictures she texted me that she liked. One look on Pinterest and I found the tutorial here:
This is one fantastic wreath for 3 reasons:
**Super easy
**No gluing necessary
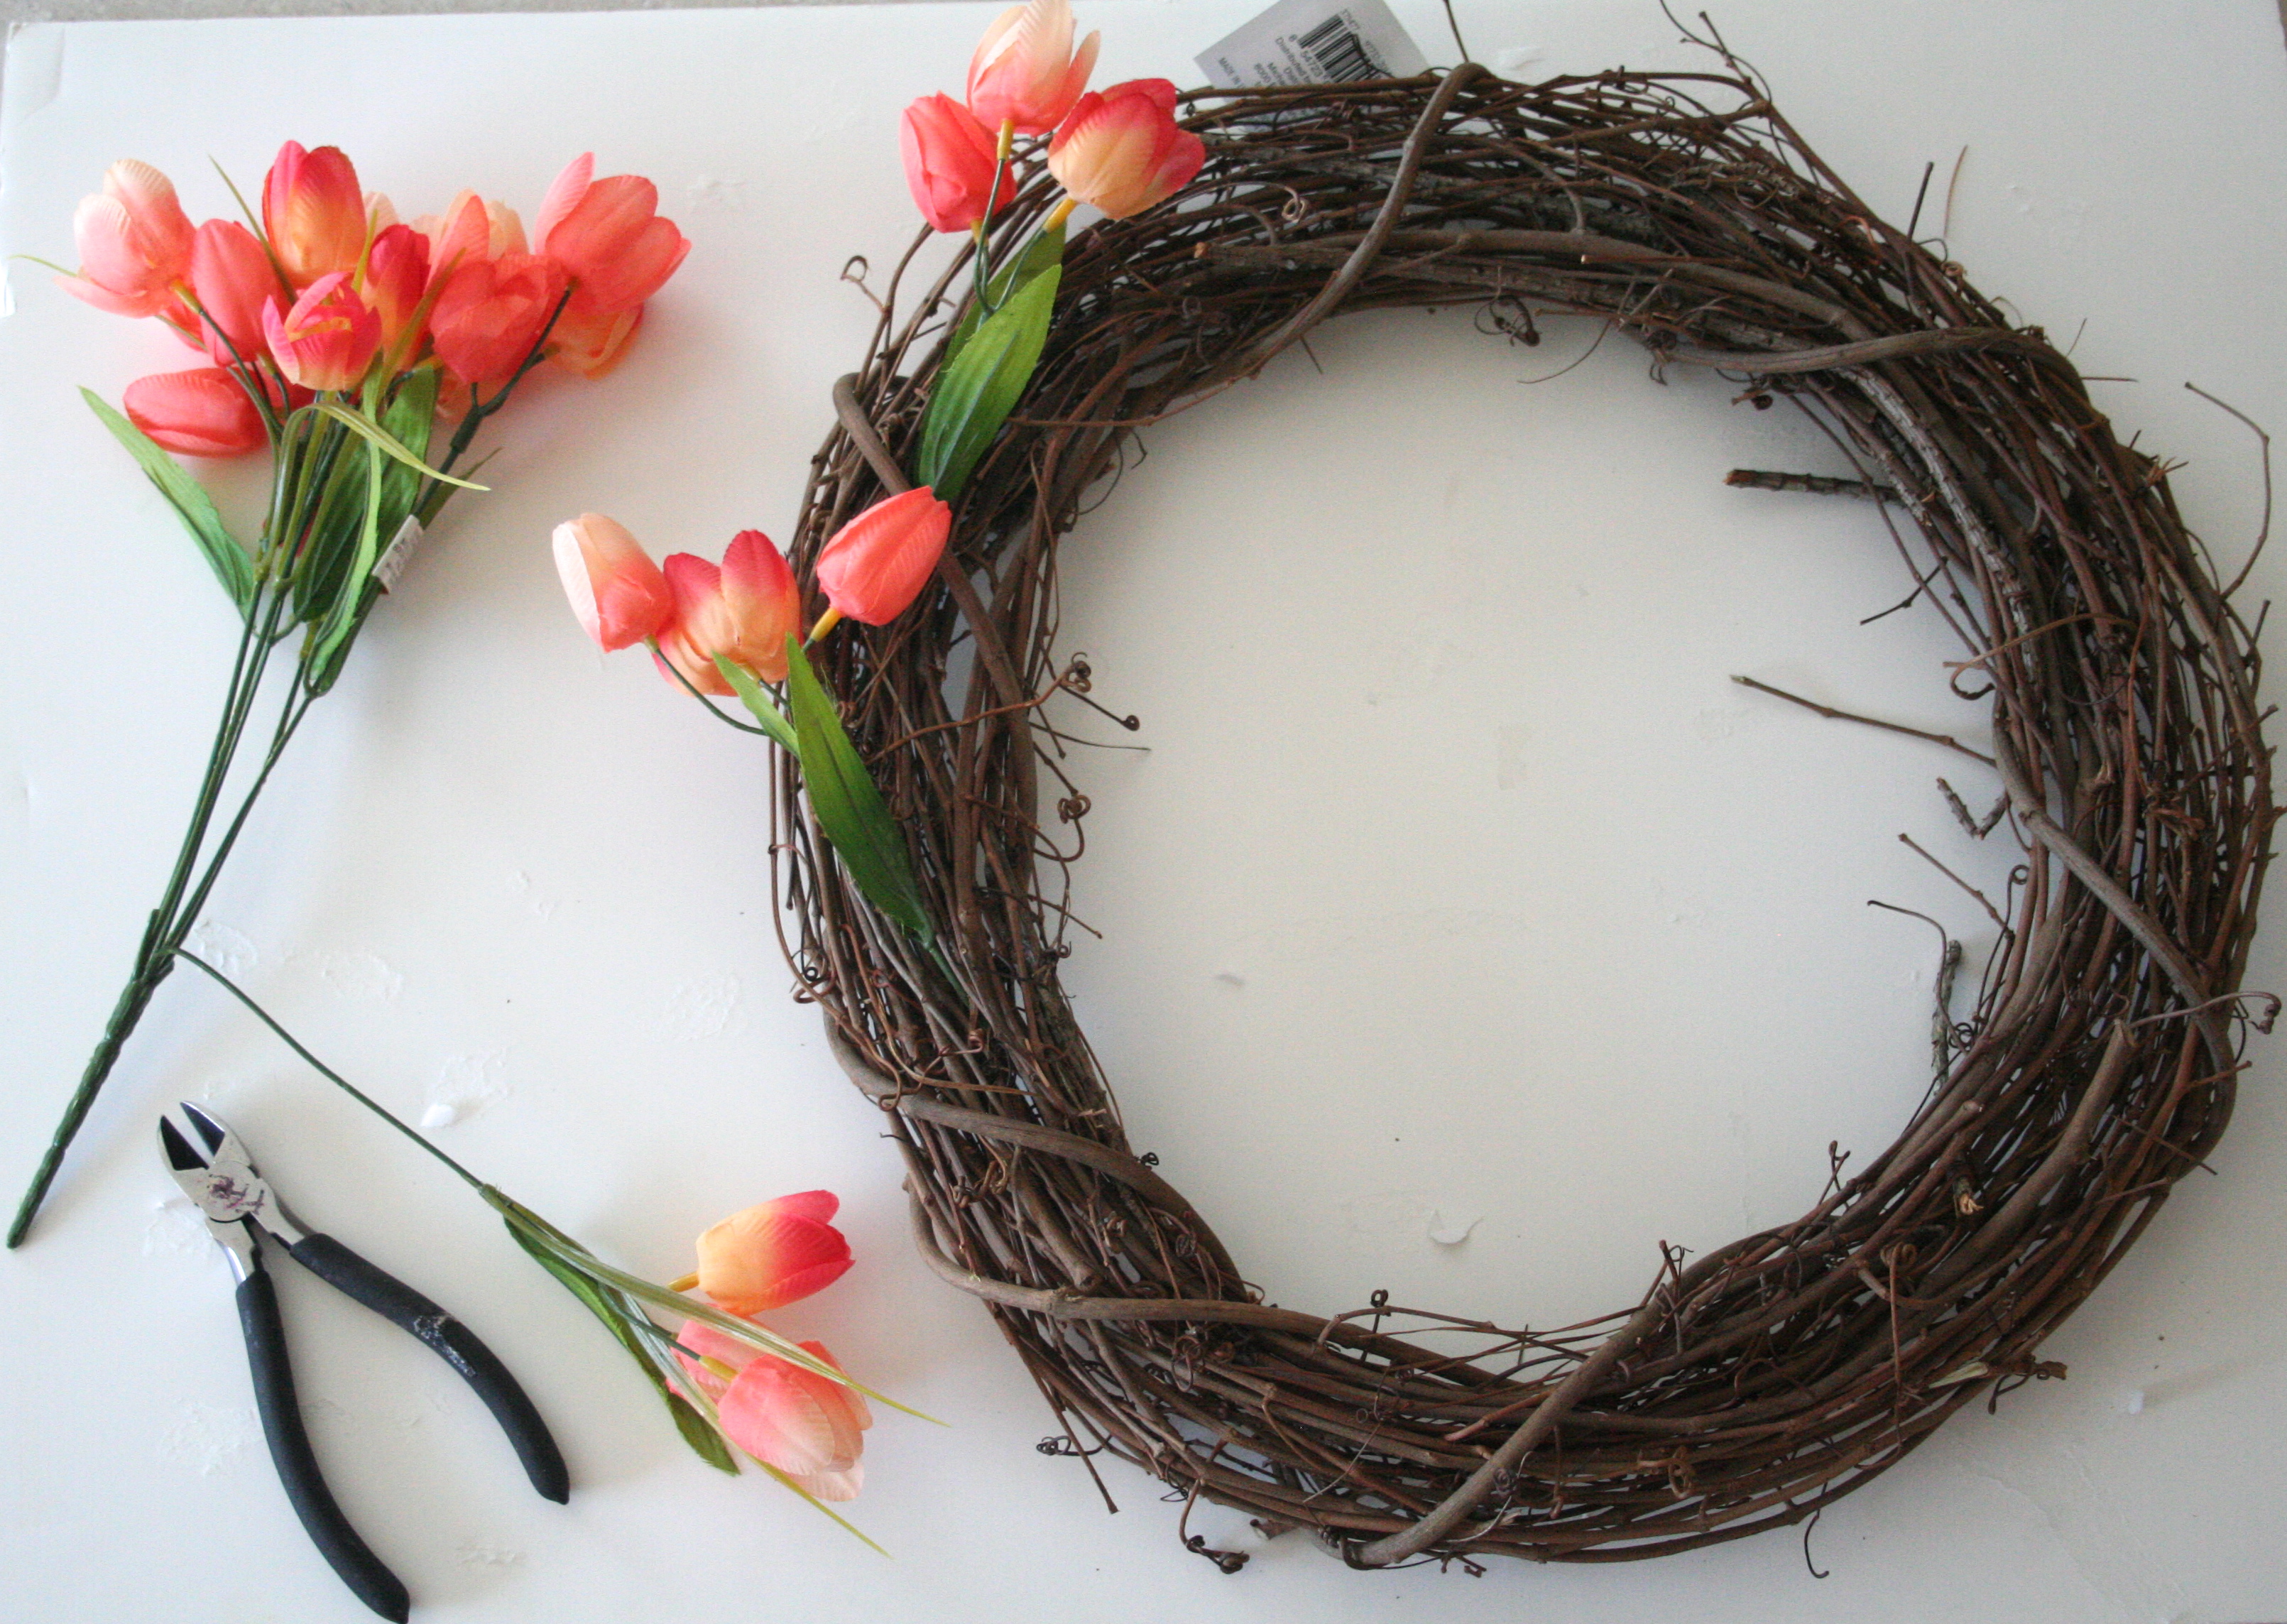
**3 supplies: 14″ grapevine wreath, 6 bunches silk tulips, wire cutters.
Done.
You really can’t go wrong. Pretty sure that even the craft-challenged could handle this one.
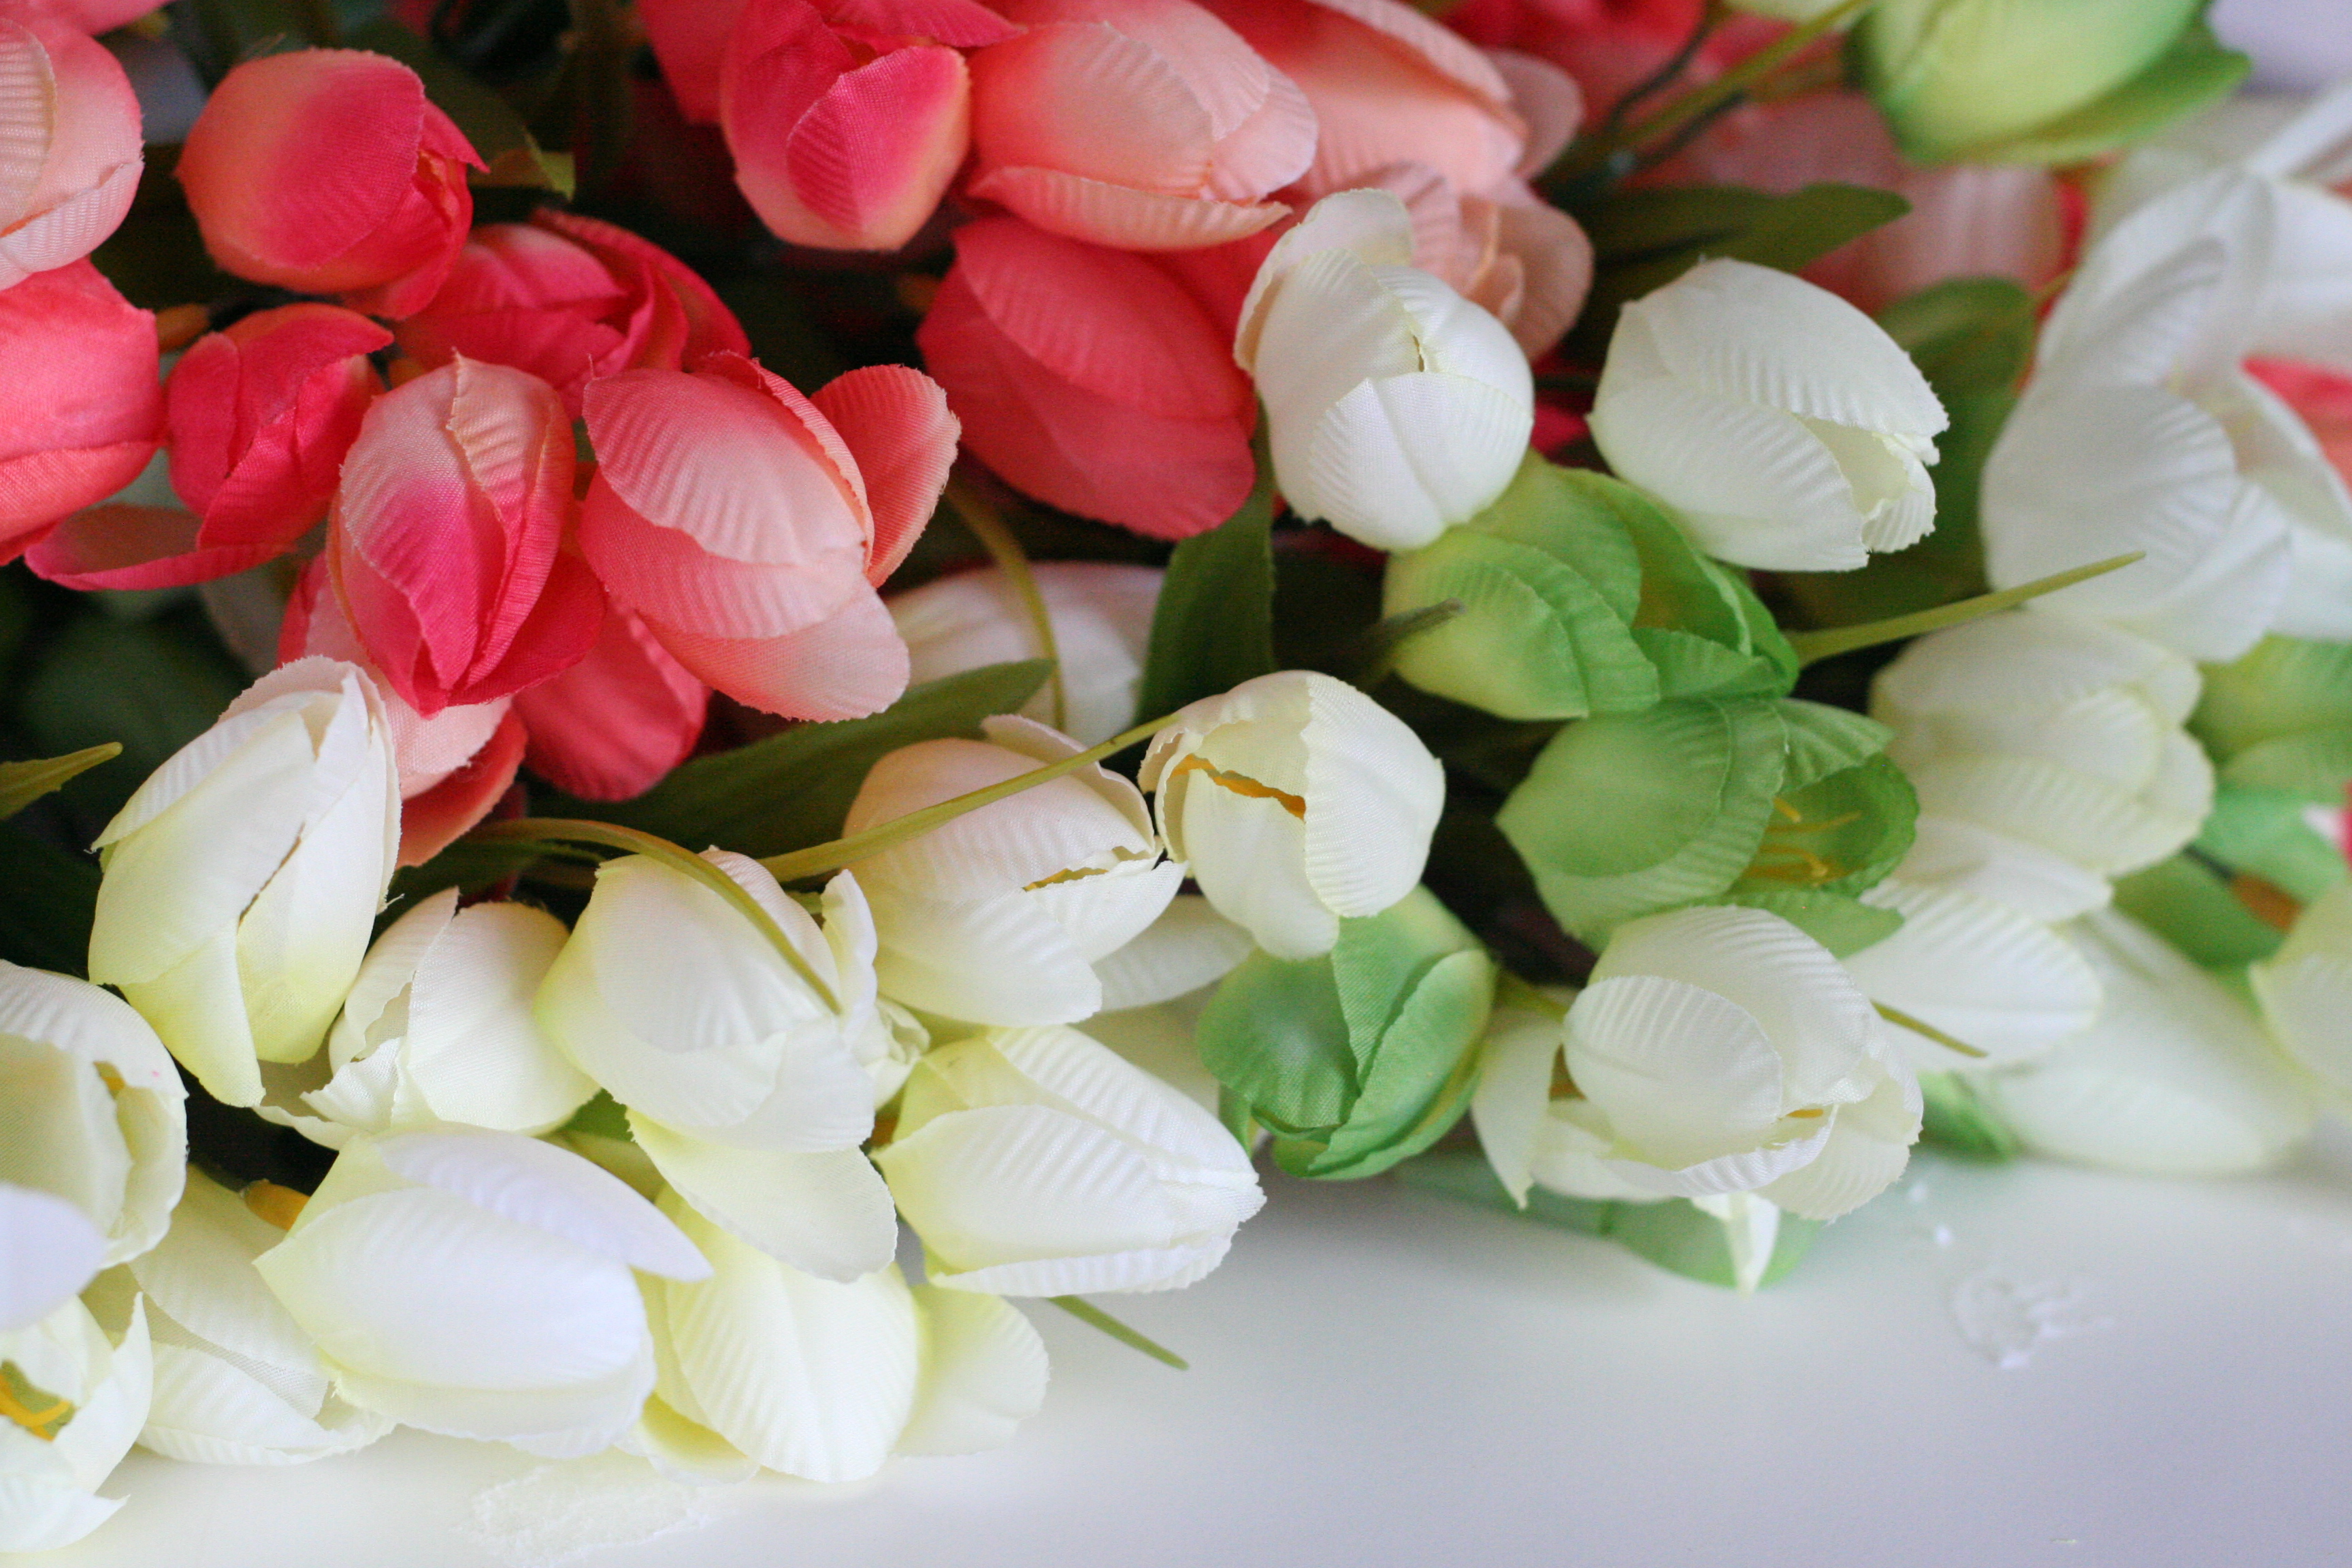
The best thing about my version? These colors.
These. COLORS.
 I could not resist these LUSCIOUS colors. I found these tulips at Michael’s for $3.99 each. I used 3 bunches of the coral and 3 bunches of the white/lime green combo. Some blogs say you can find them at the Dollar Store. I never tried finding them there. I’m sorry, but there is usually some quality issue for me with things I buy at the dollar store. The colors will fade quickly, they fall apart easily, they smell funny…..Once I bought a colored basket there that bled into the shelf it was sitting on. Weird.
So you gather your tulips and cut them at the base of the bunch and start inserting them into the wreath. You don’t even have to glue them down! Isn’t that magical?
I mean you could glue them, and I probably would if this wreath hangs on a door that opens and closes much. If it’s on a wall, it would be fine. I will try it without gluing and see how well they hold in. They actually fit pretty snug if you shove them down into the twisty grapevine twiggies. And then you have the option to take them out and do a summer wreath with sunflowers or daisies.
 So I just took one bunch of coral tulips and worked my way around the wreath, (or I might have used two bunches of the coral color at the beginning), then I did one bunch ( or maybe two) of the white-lime green tulips.
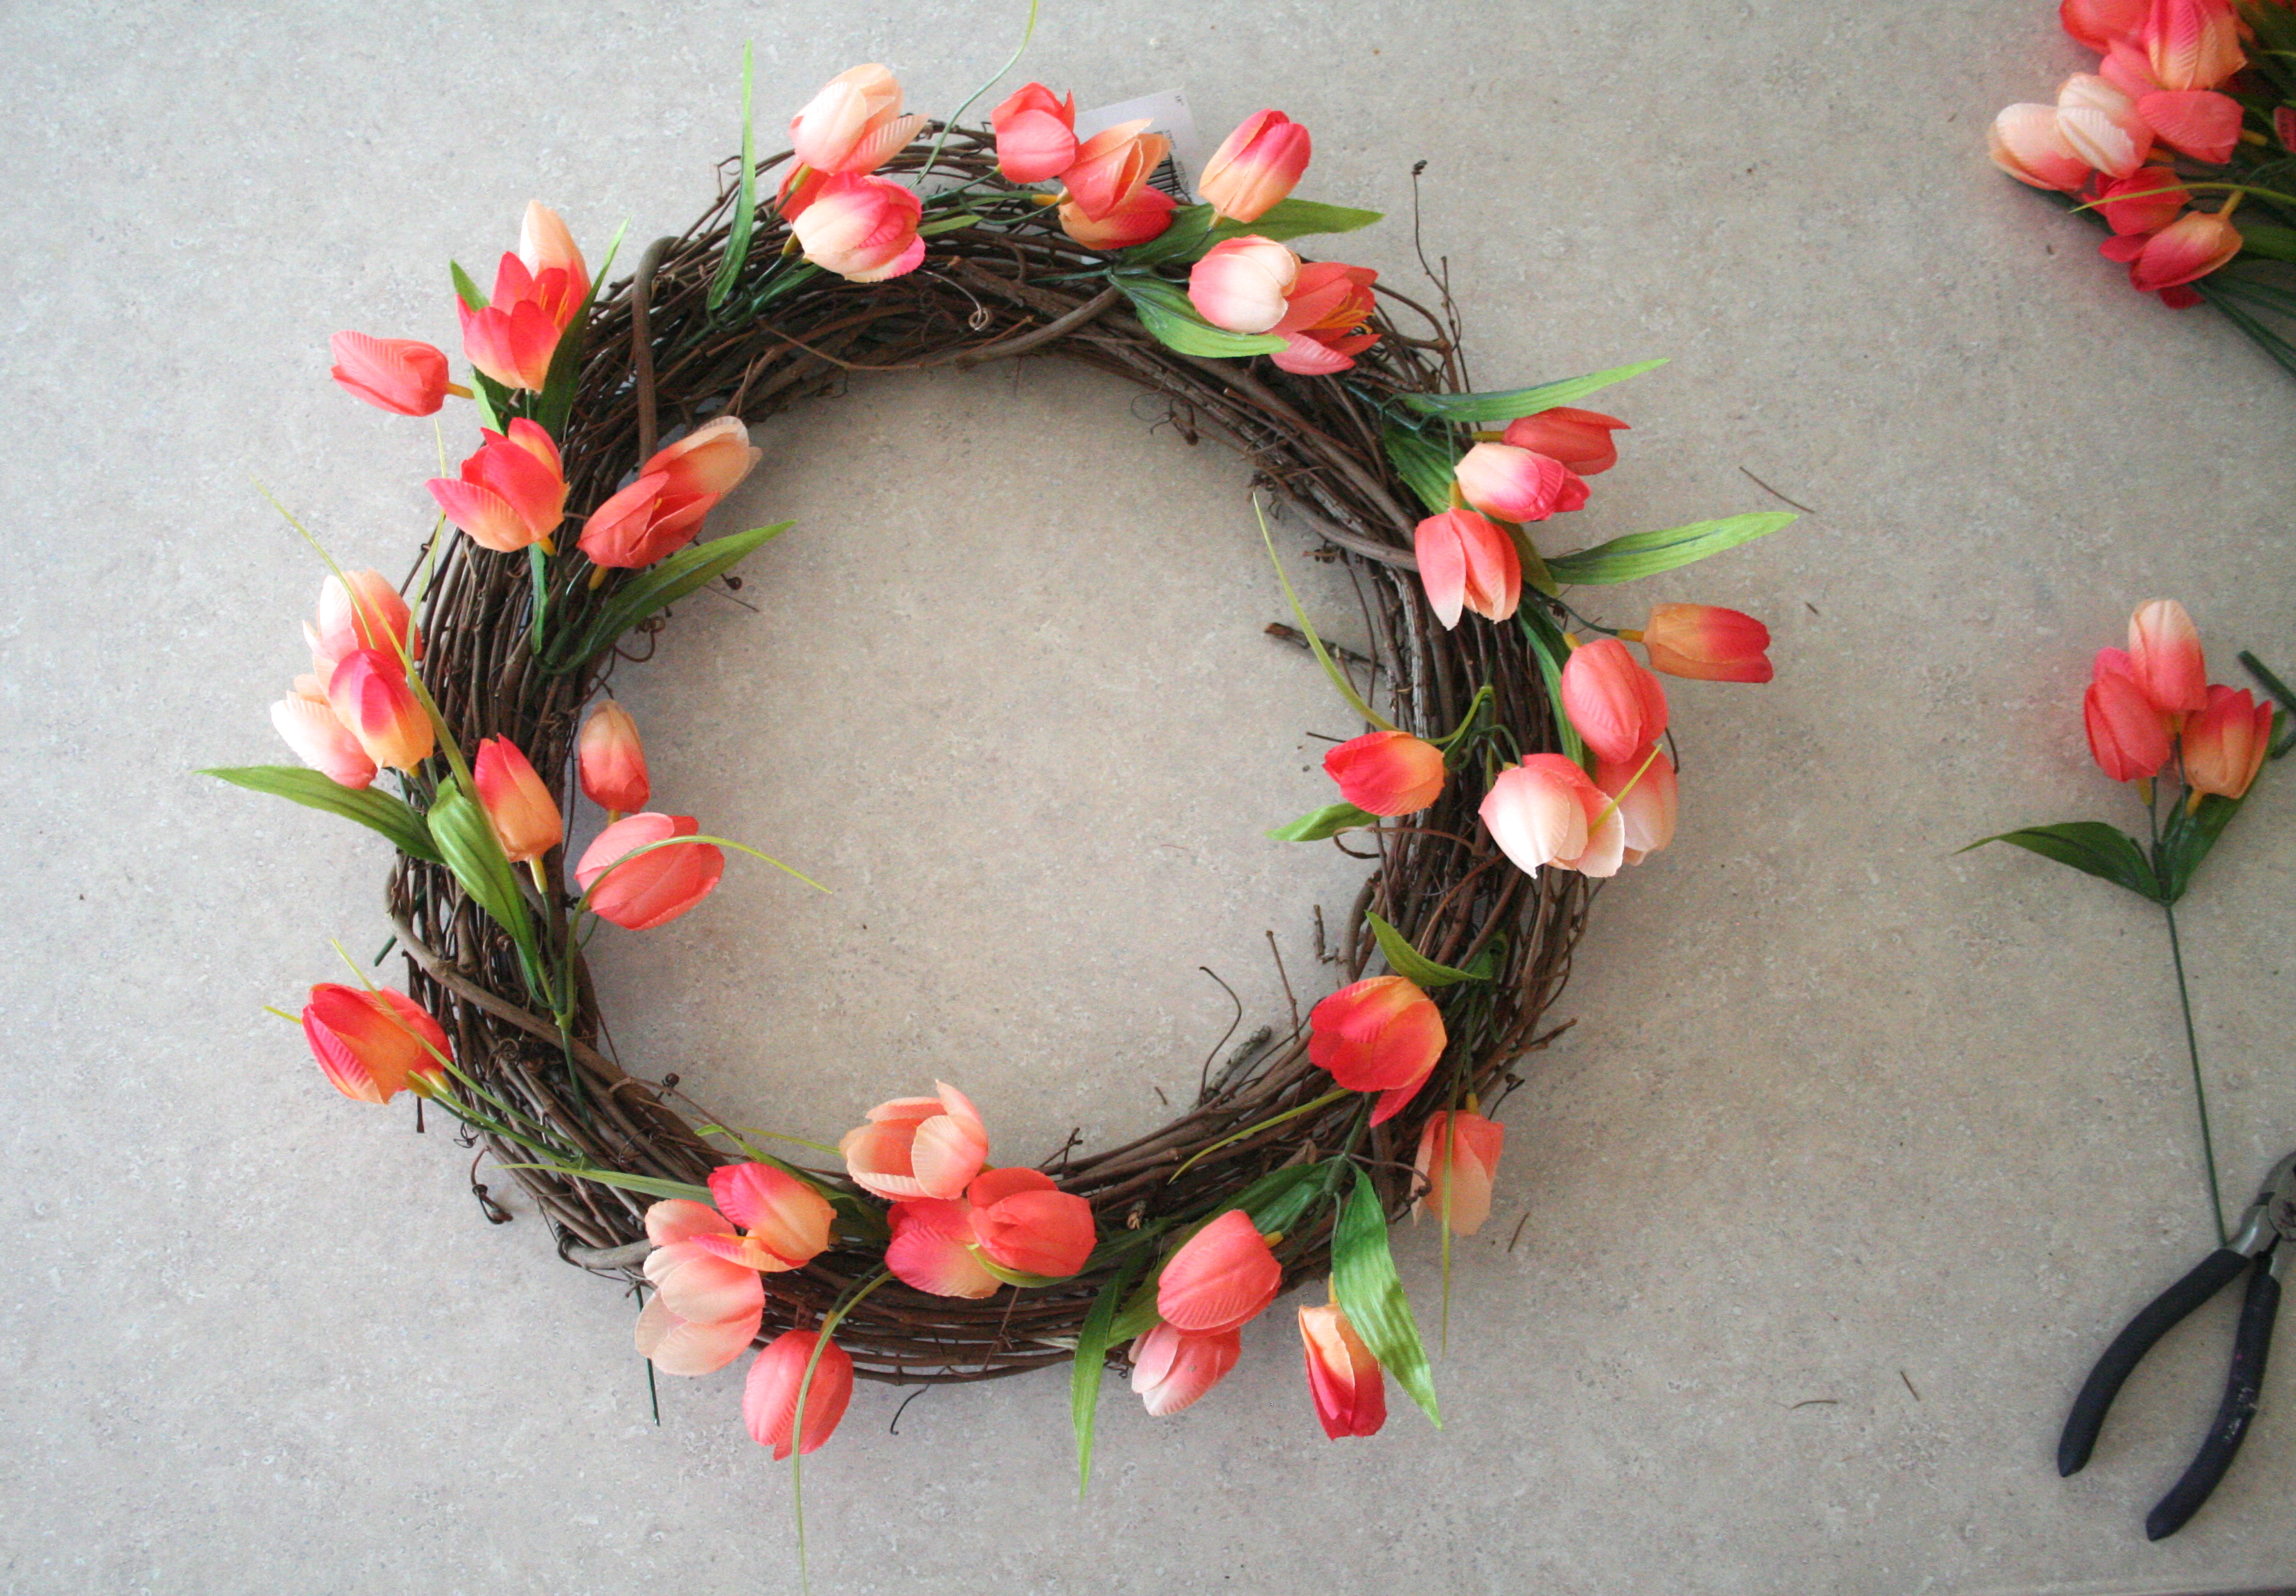 It seemed faster to clip one bunch all at one time, then I could poke them in. It’s so stinkin’ easy.
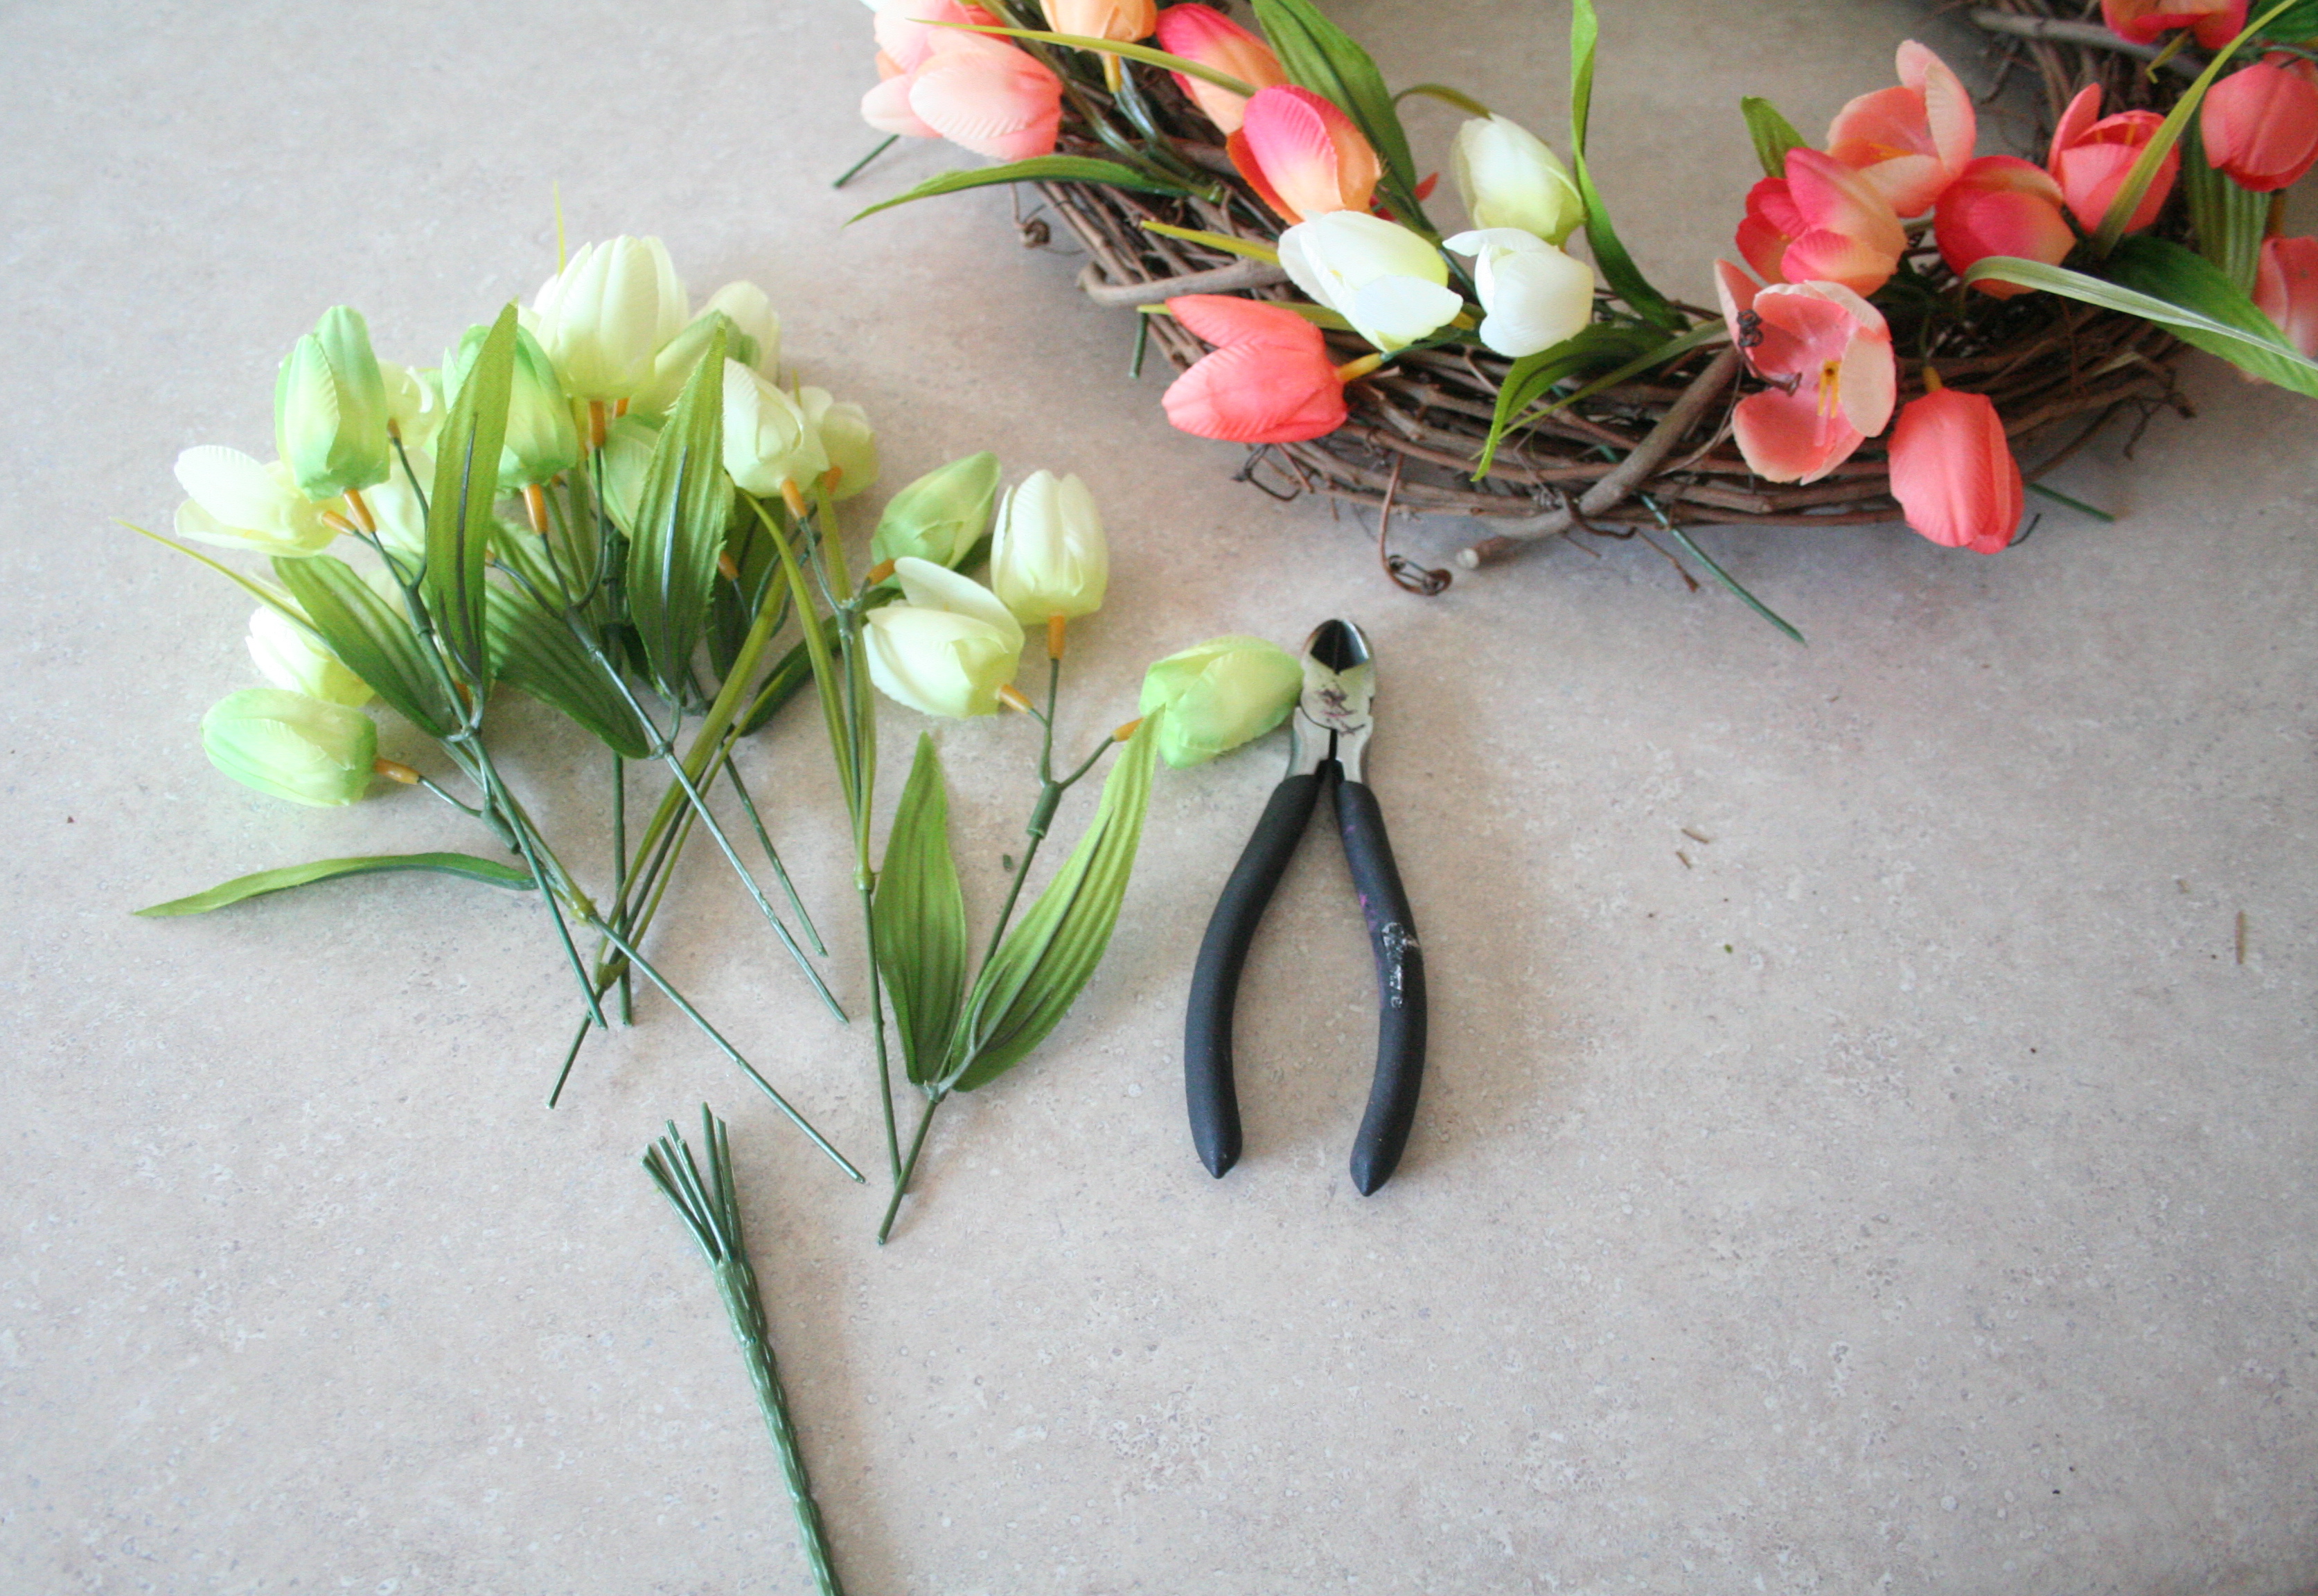 The green stems hang out just a little bit because I left them long, for more holding power. You could cut them shorter, especially if you choose to glue them in with hot glue. They don’t really show once it’s hanging and it was easier to work with to leave them long.
Slide the foliage up the stem so that it will show better and not get lost in the grapevine twiggies. See how the one on the right has the pointed leaves up closer to the buds? It will help fill the wreath out better. 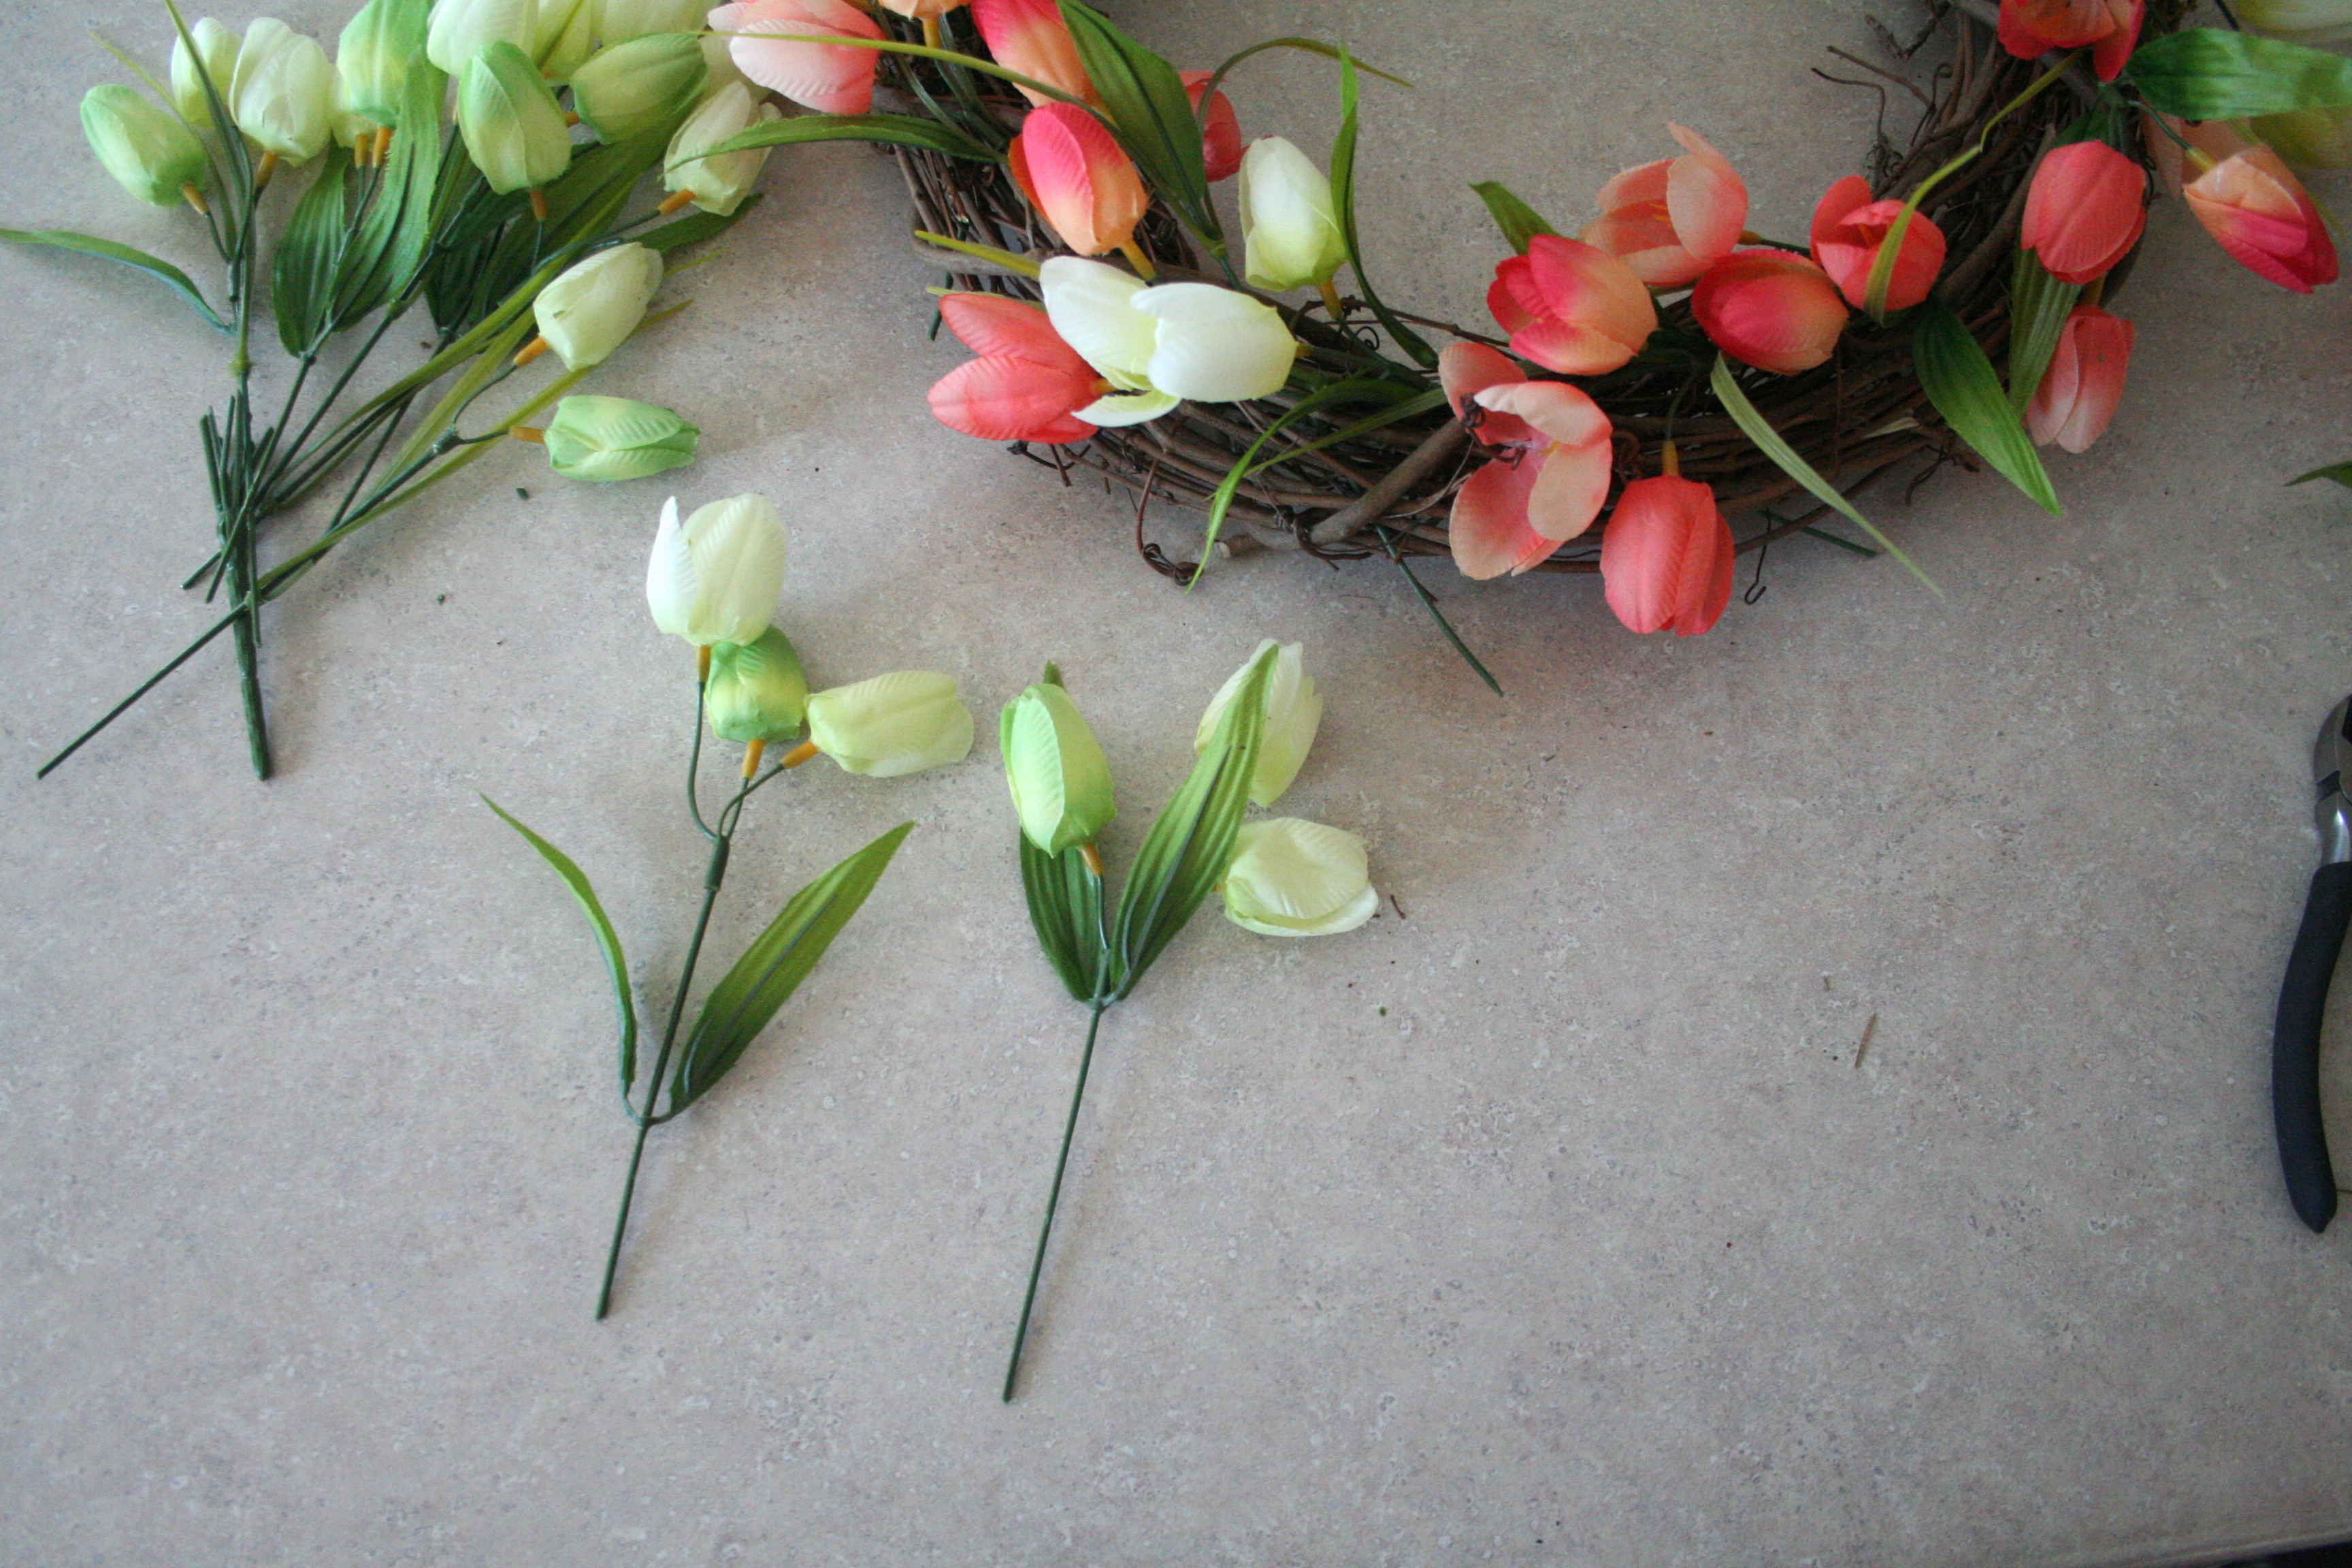
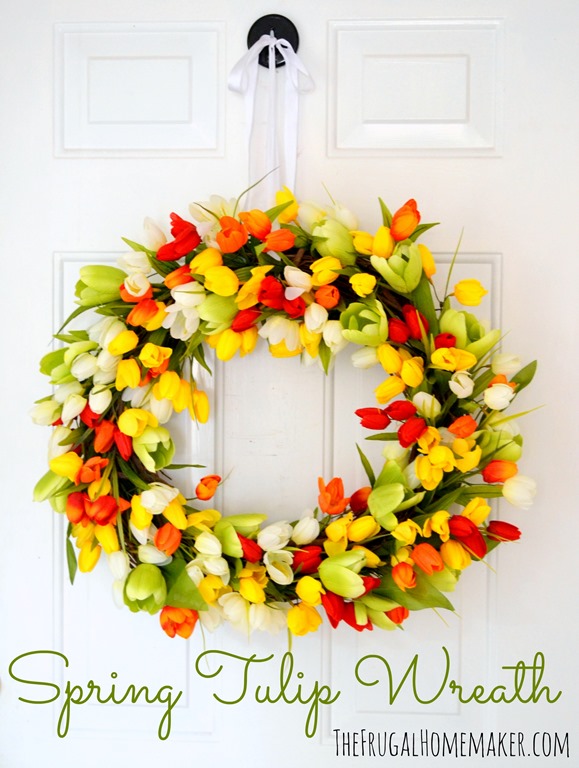
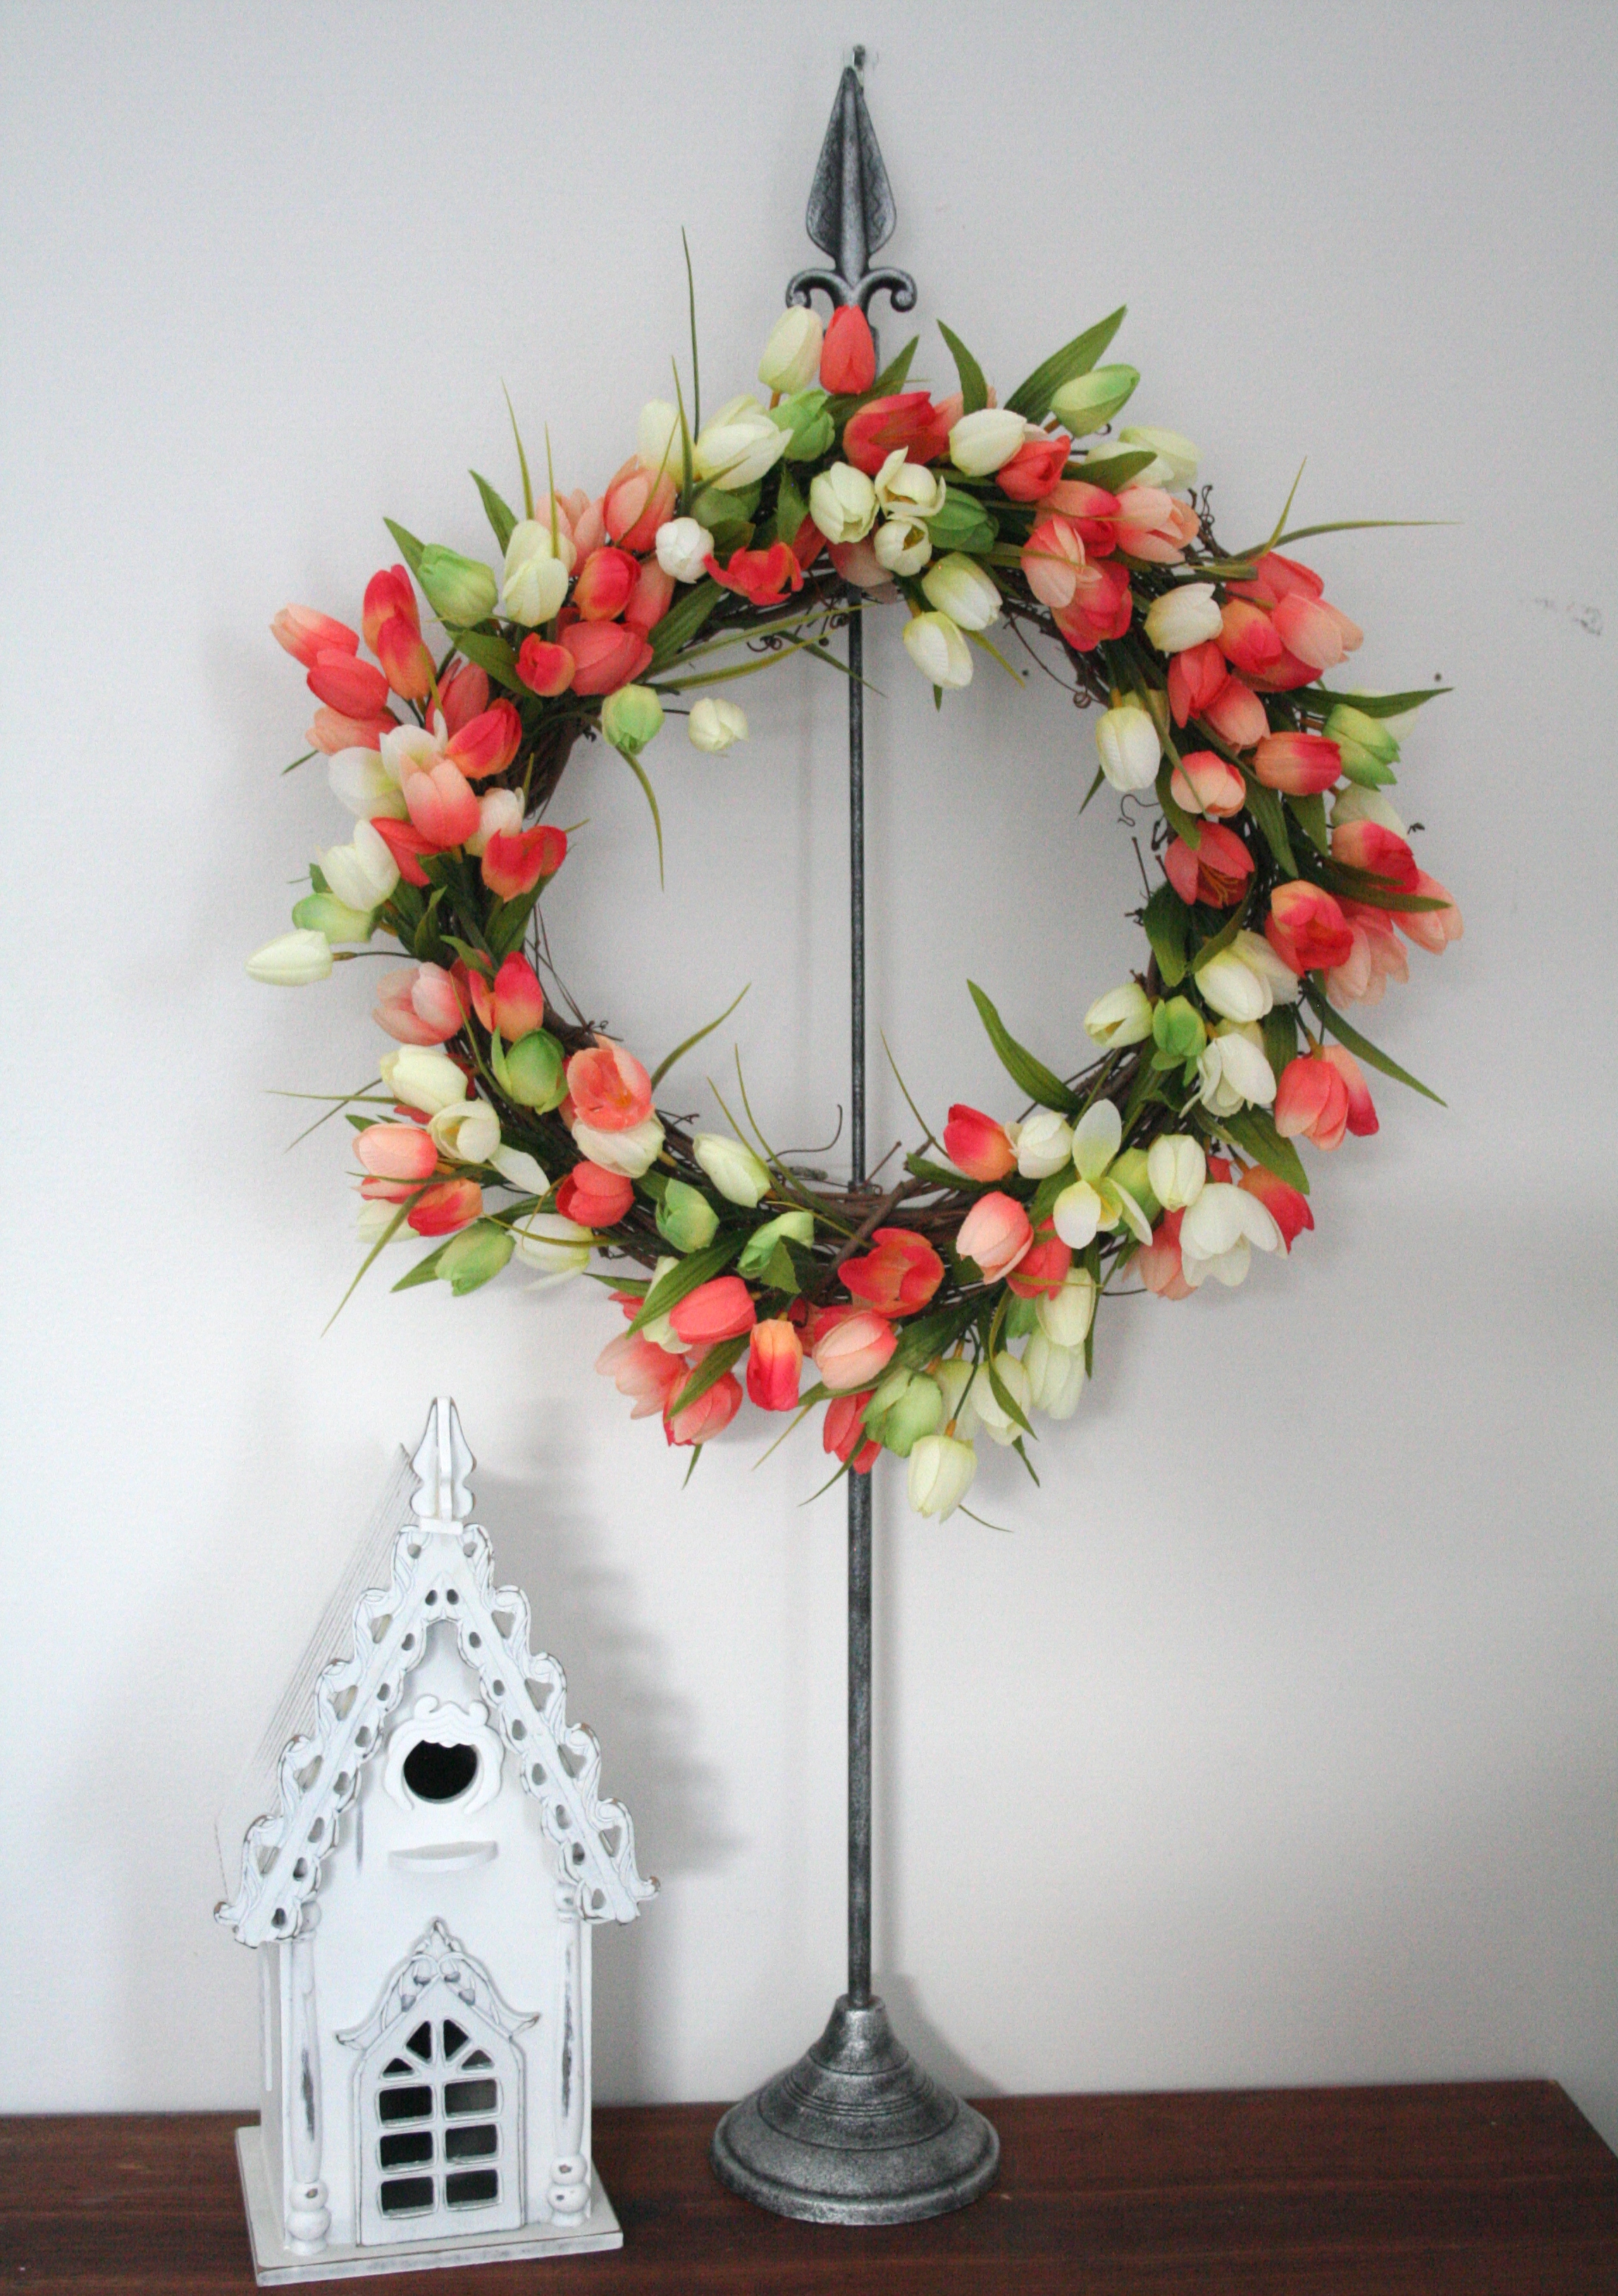
Almost there! Finishing up with my last of the 6 bunches. I wasn’t sure how many I would end up using. I always buy more just in case I need them, but I really like the wreath a bit airy. Some of the other tulip wreath tutorials out there really pack them in super full and tight. I like to see the grapevine wreath underneath. 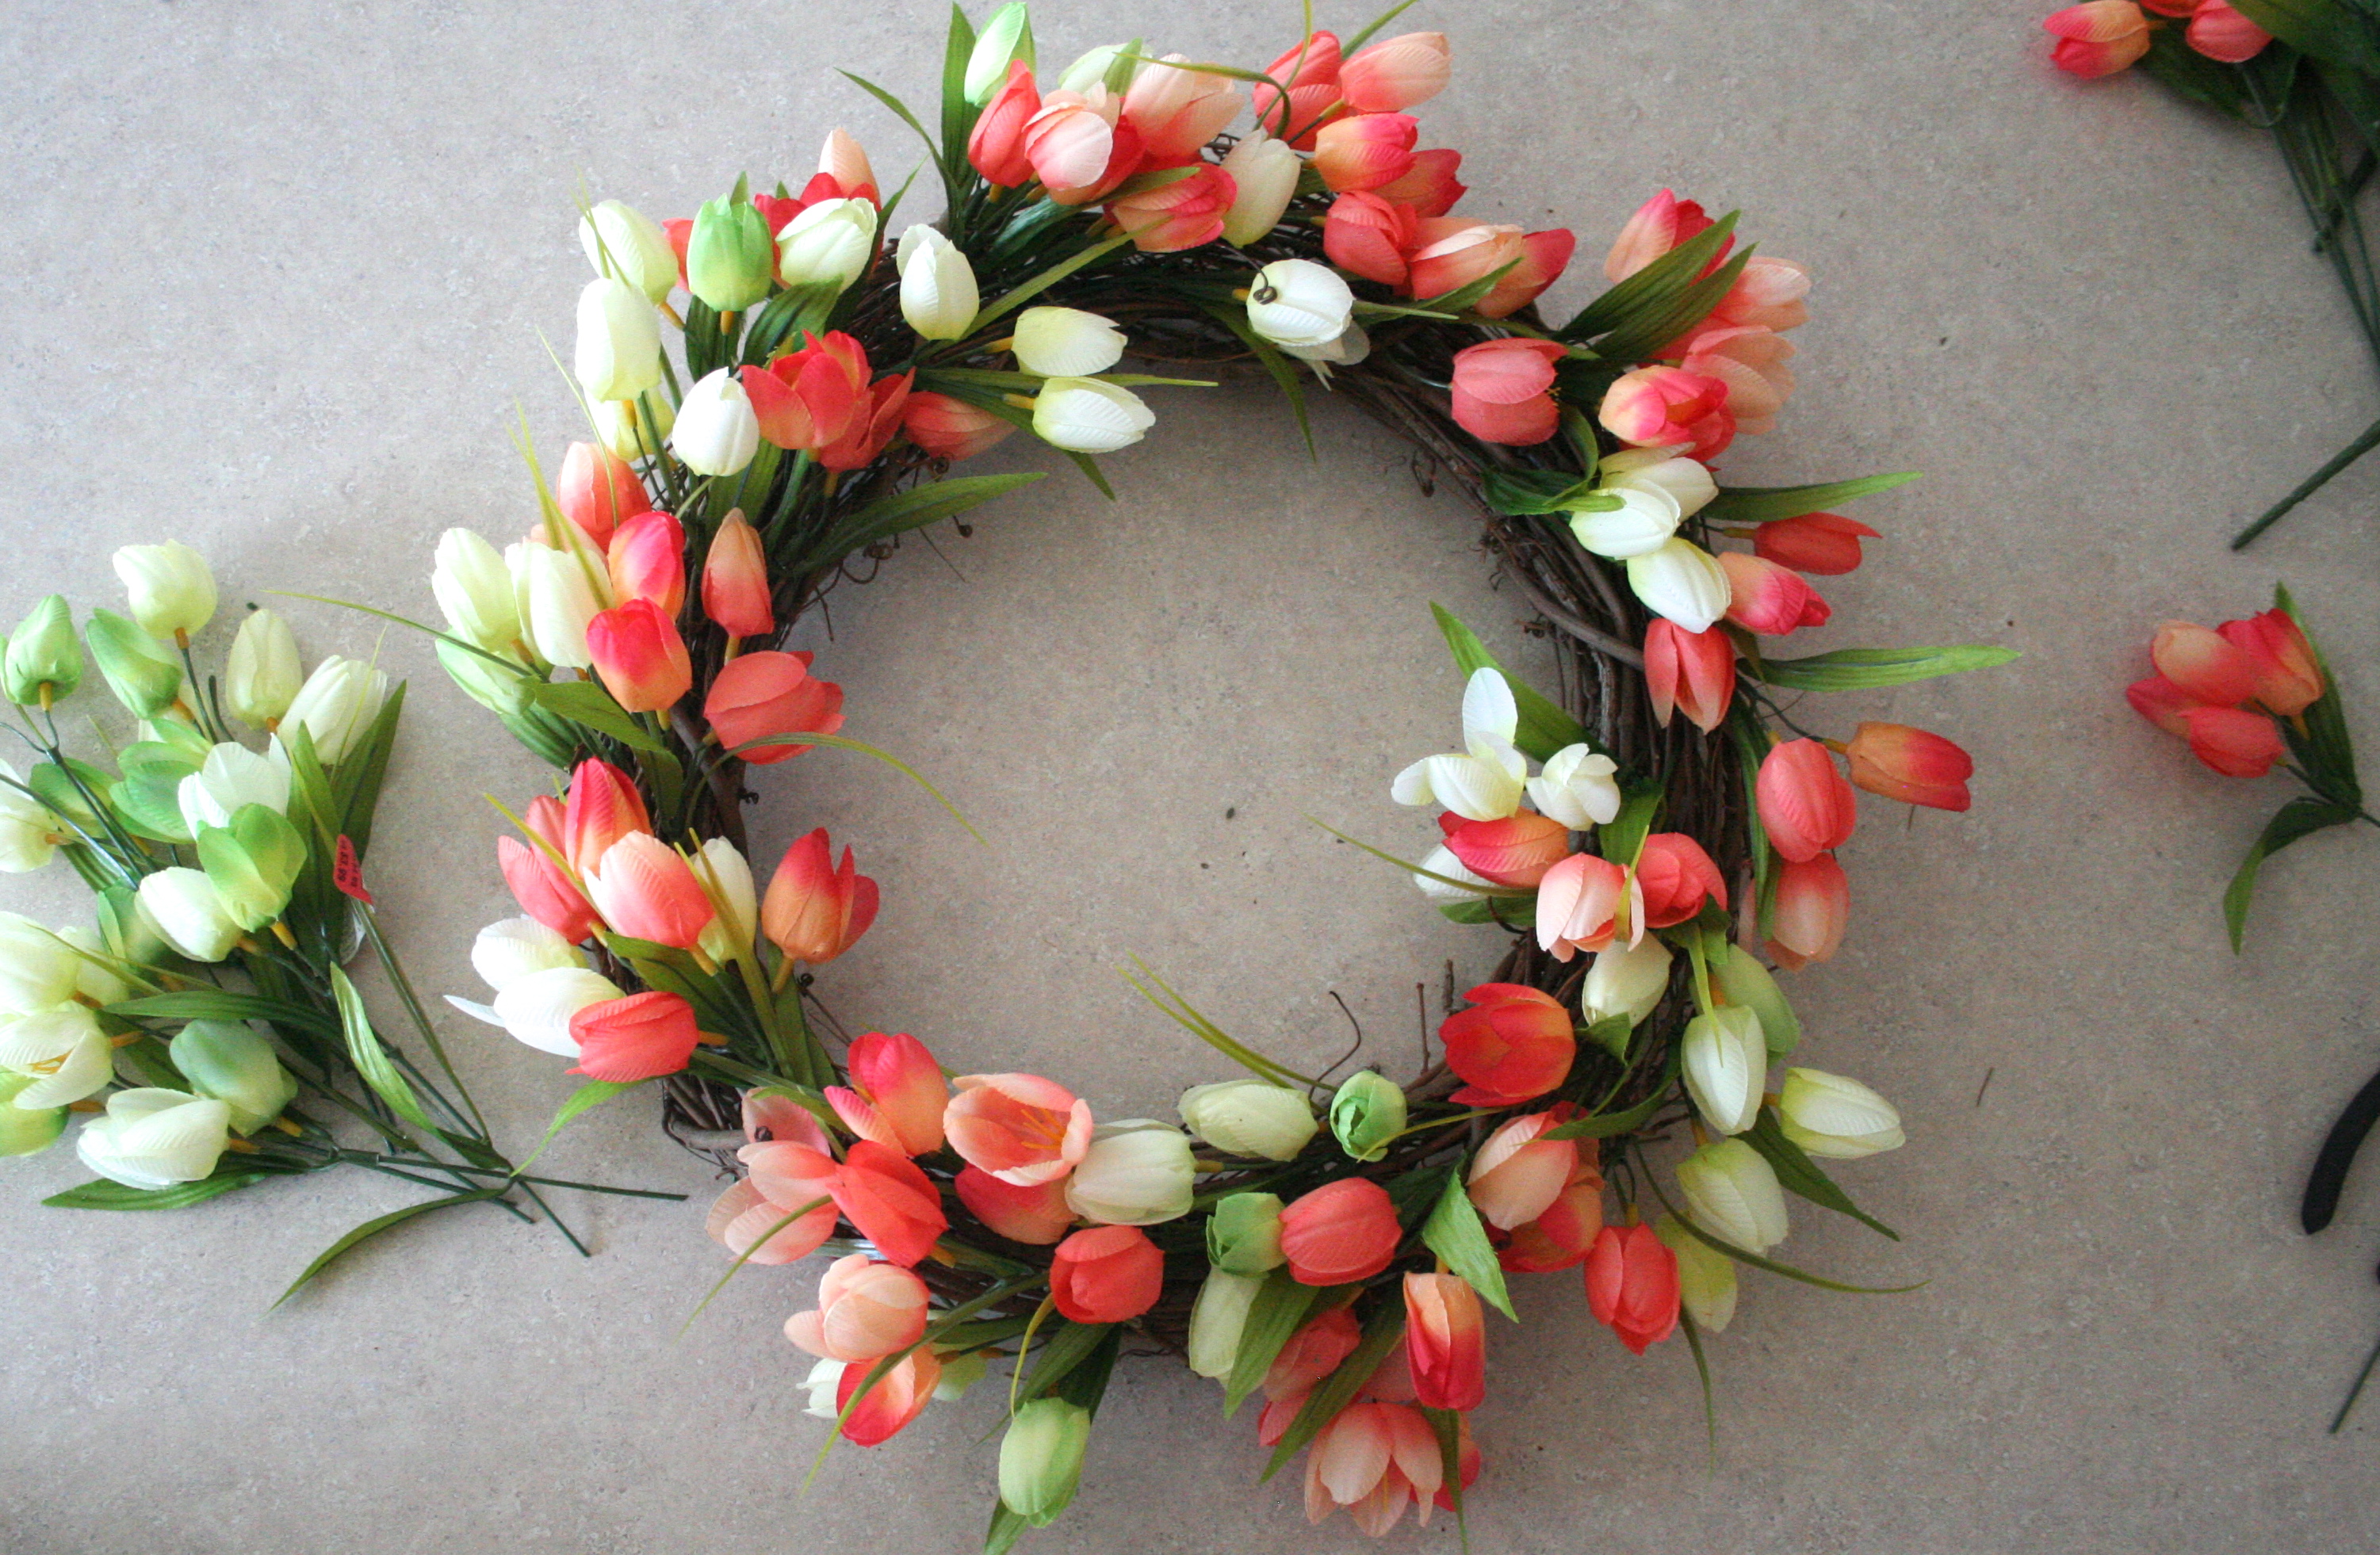 Here you go! Easy-peasy DIY spring tulip wreath that anyone can make! If you don’t want to hunt down these gorgeous tulips, have it delivered to your door via my Etsy shop Sparkle Day Design. Click here for the listing.
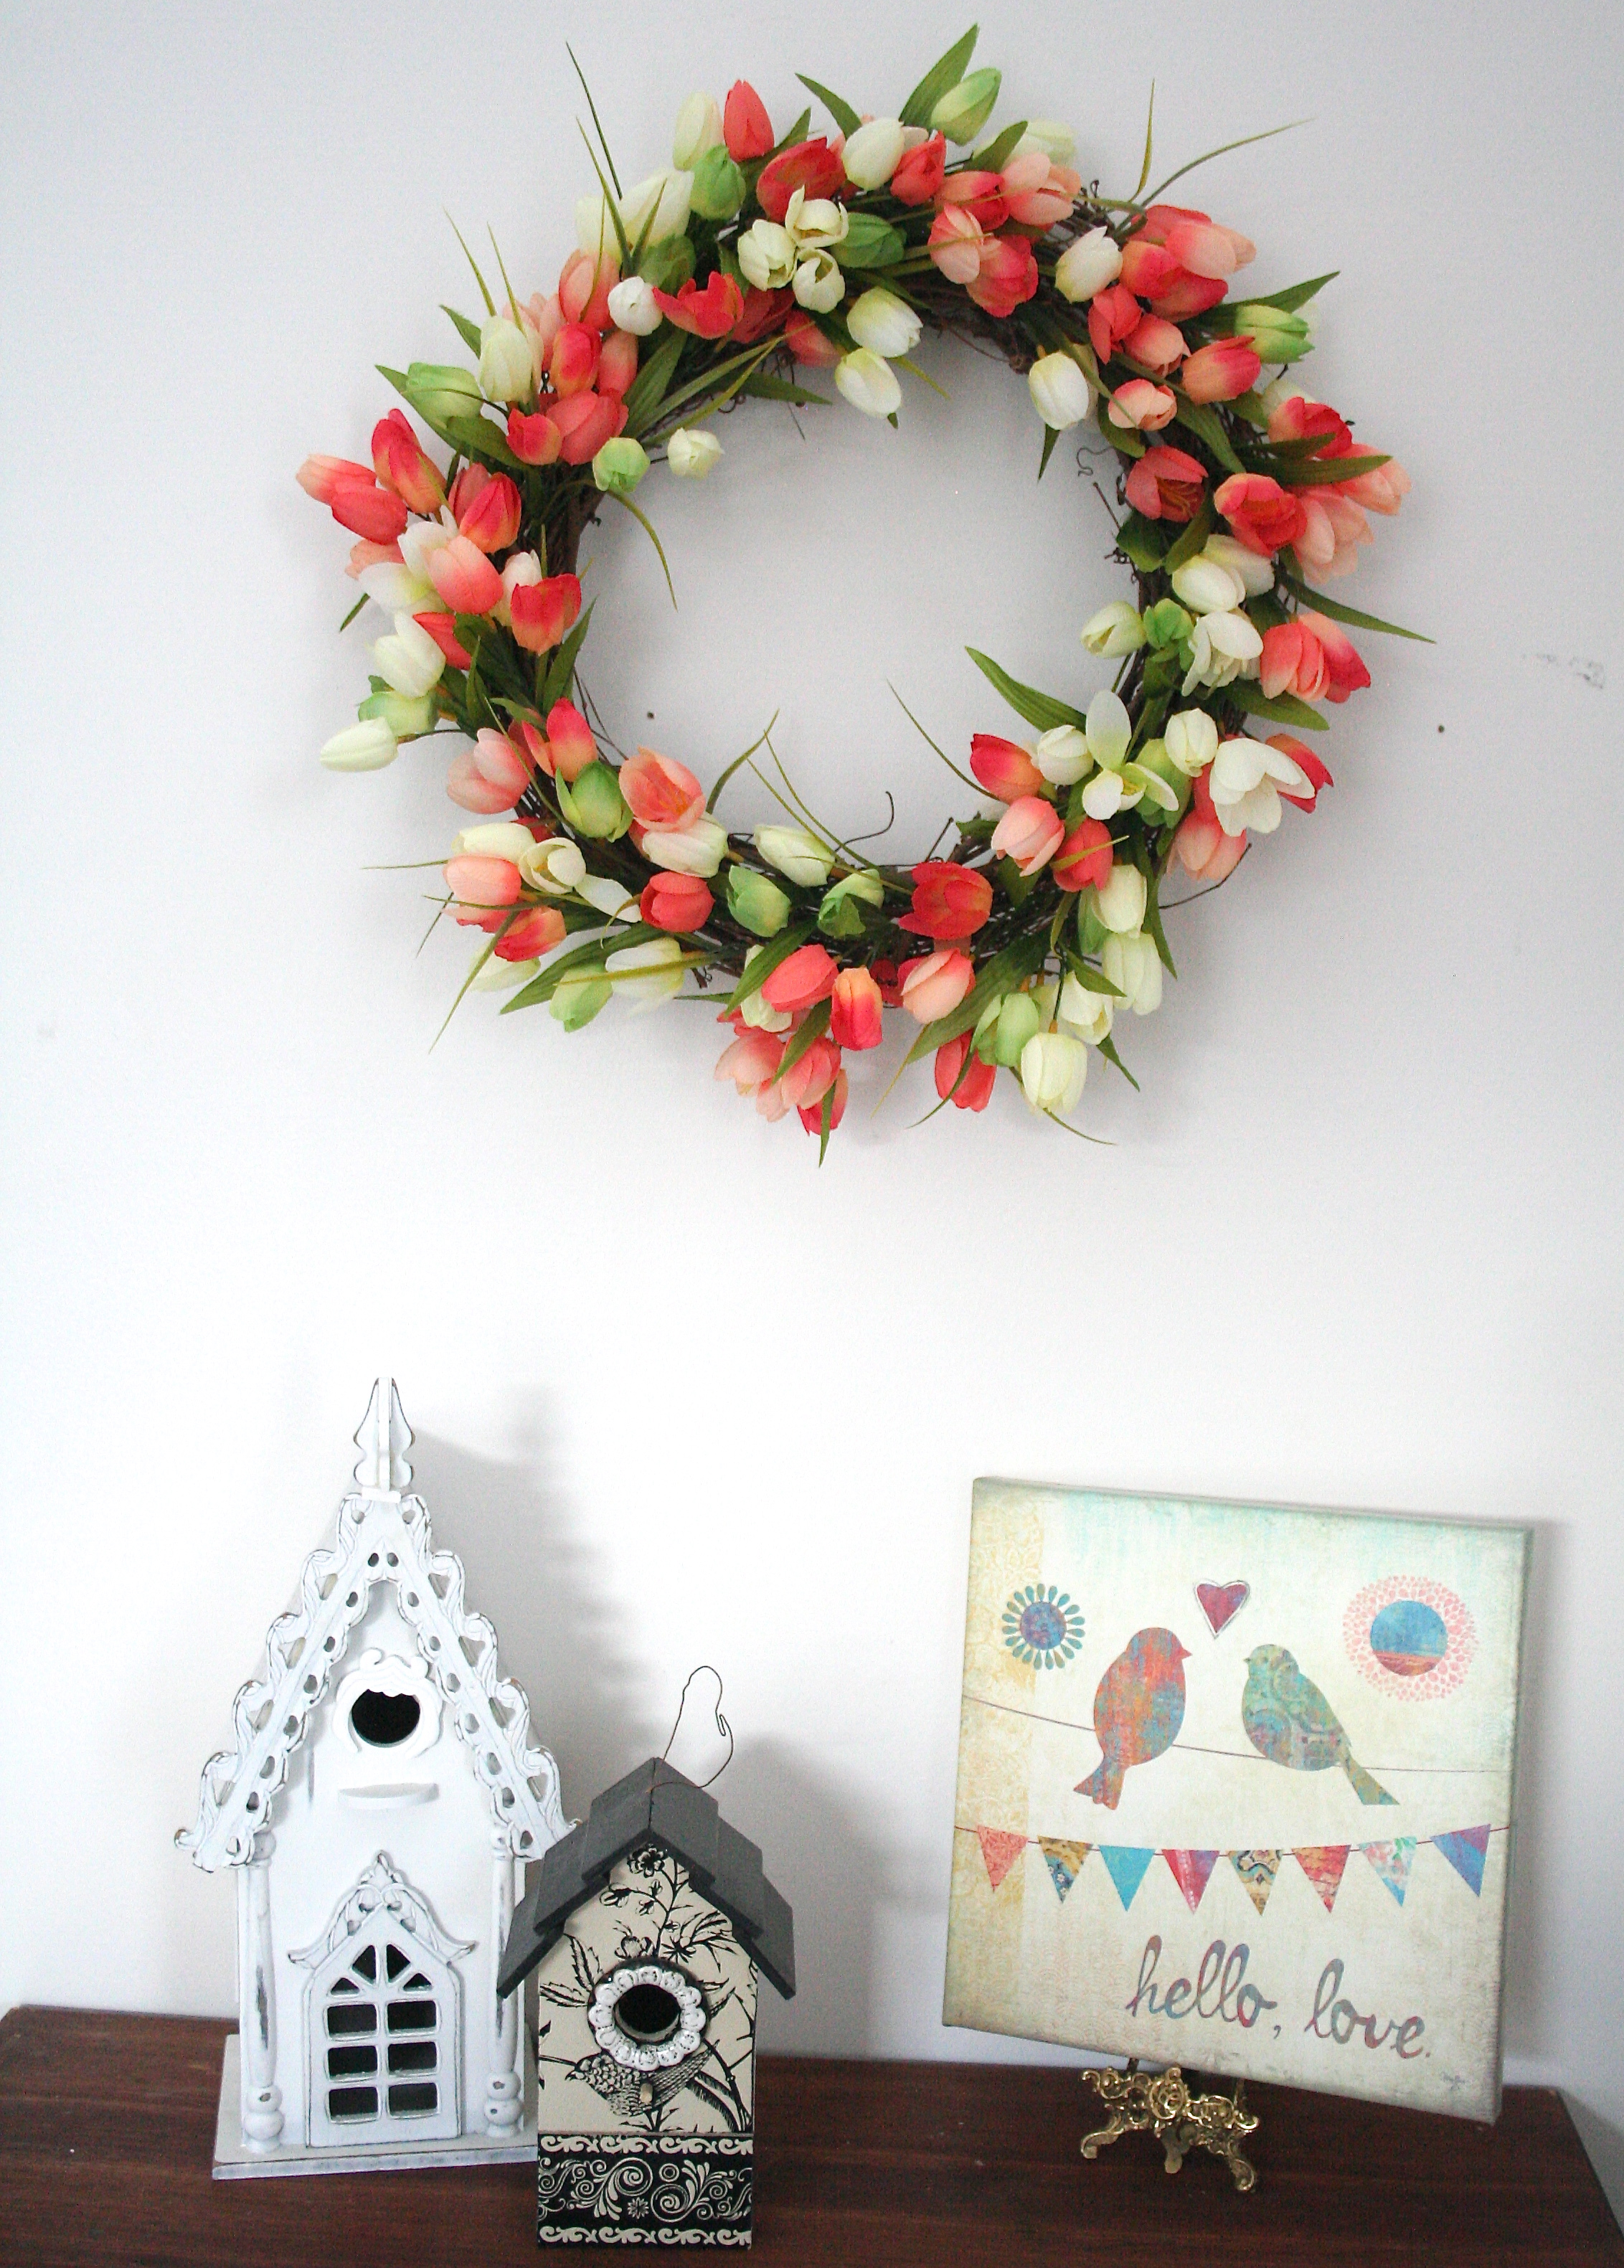
Happy Spring!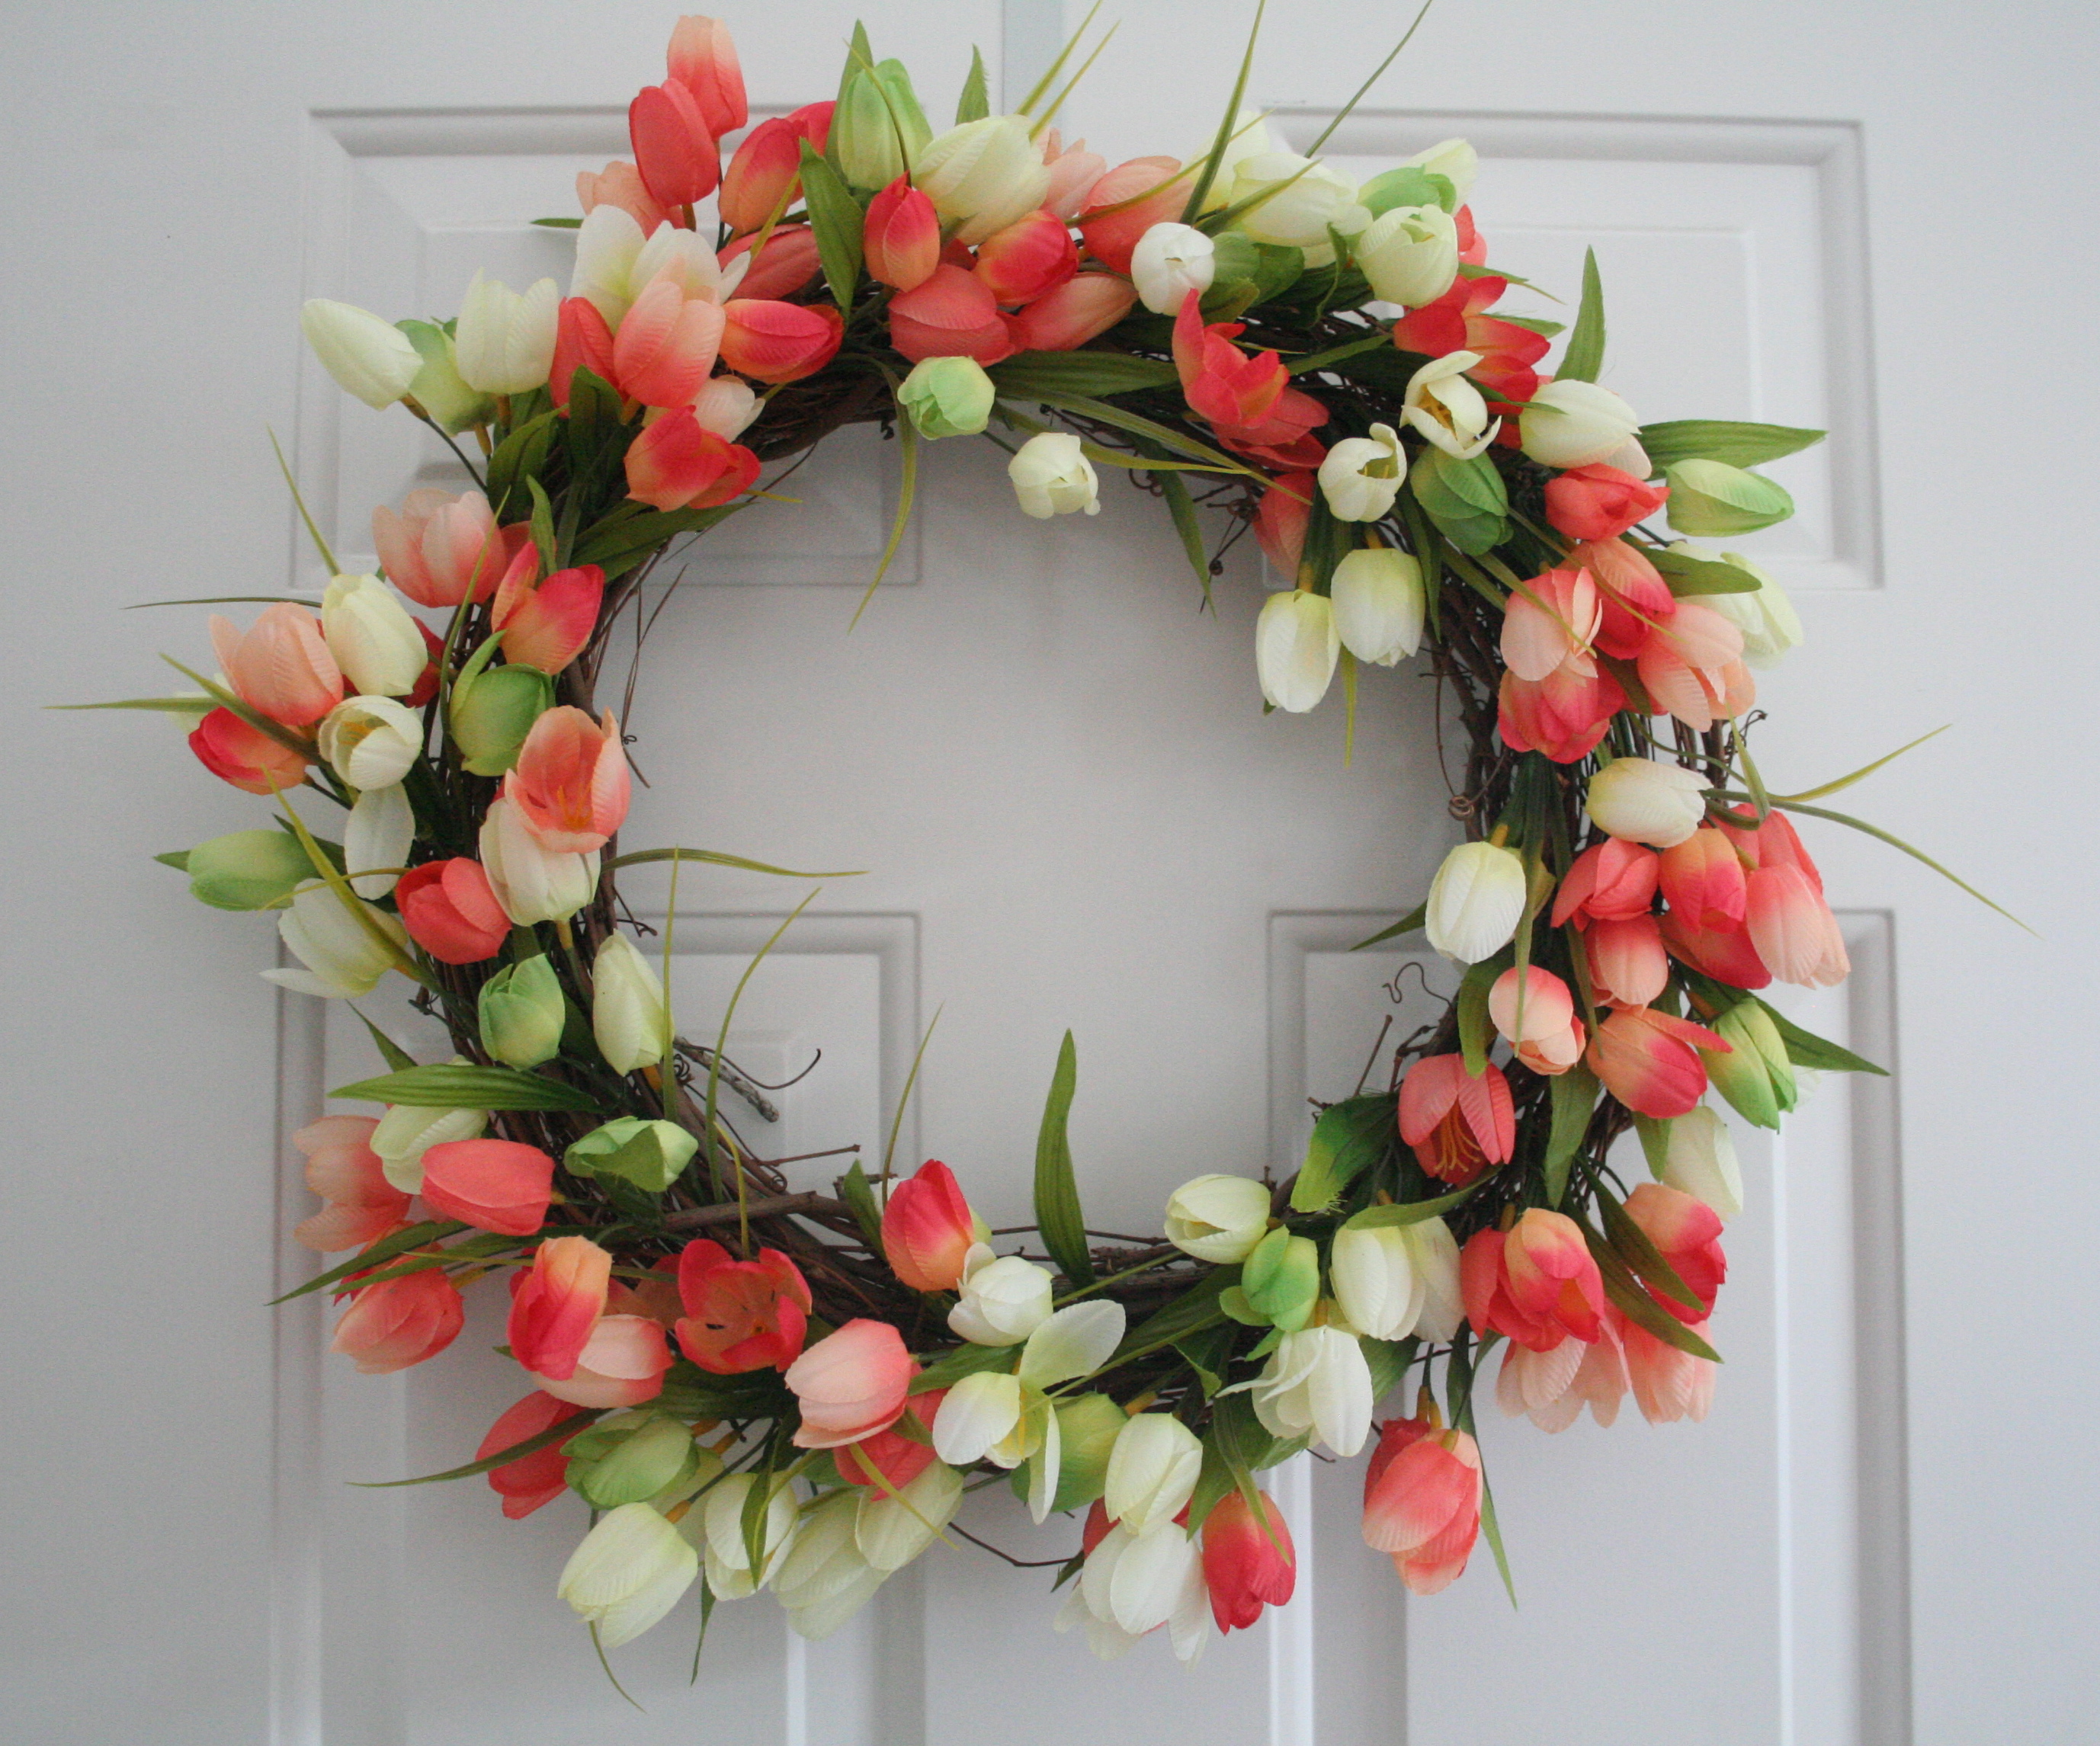


